


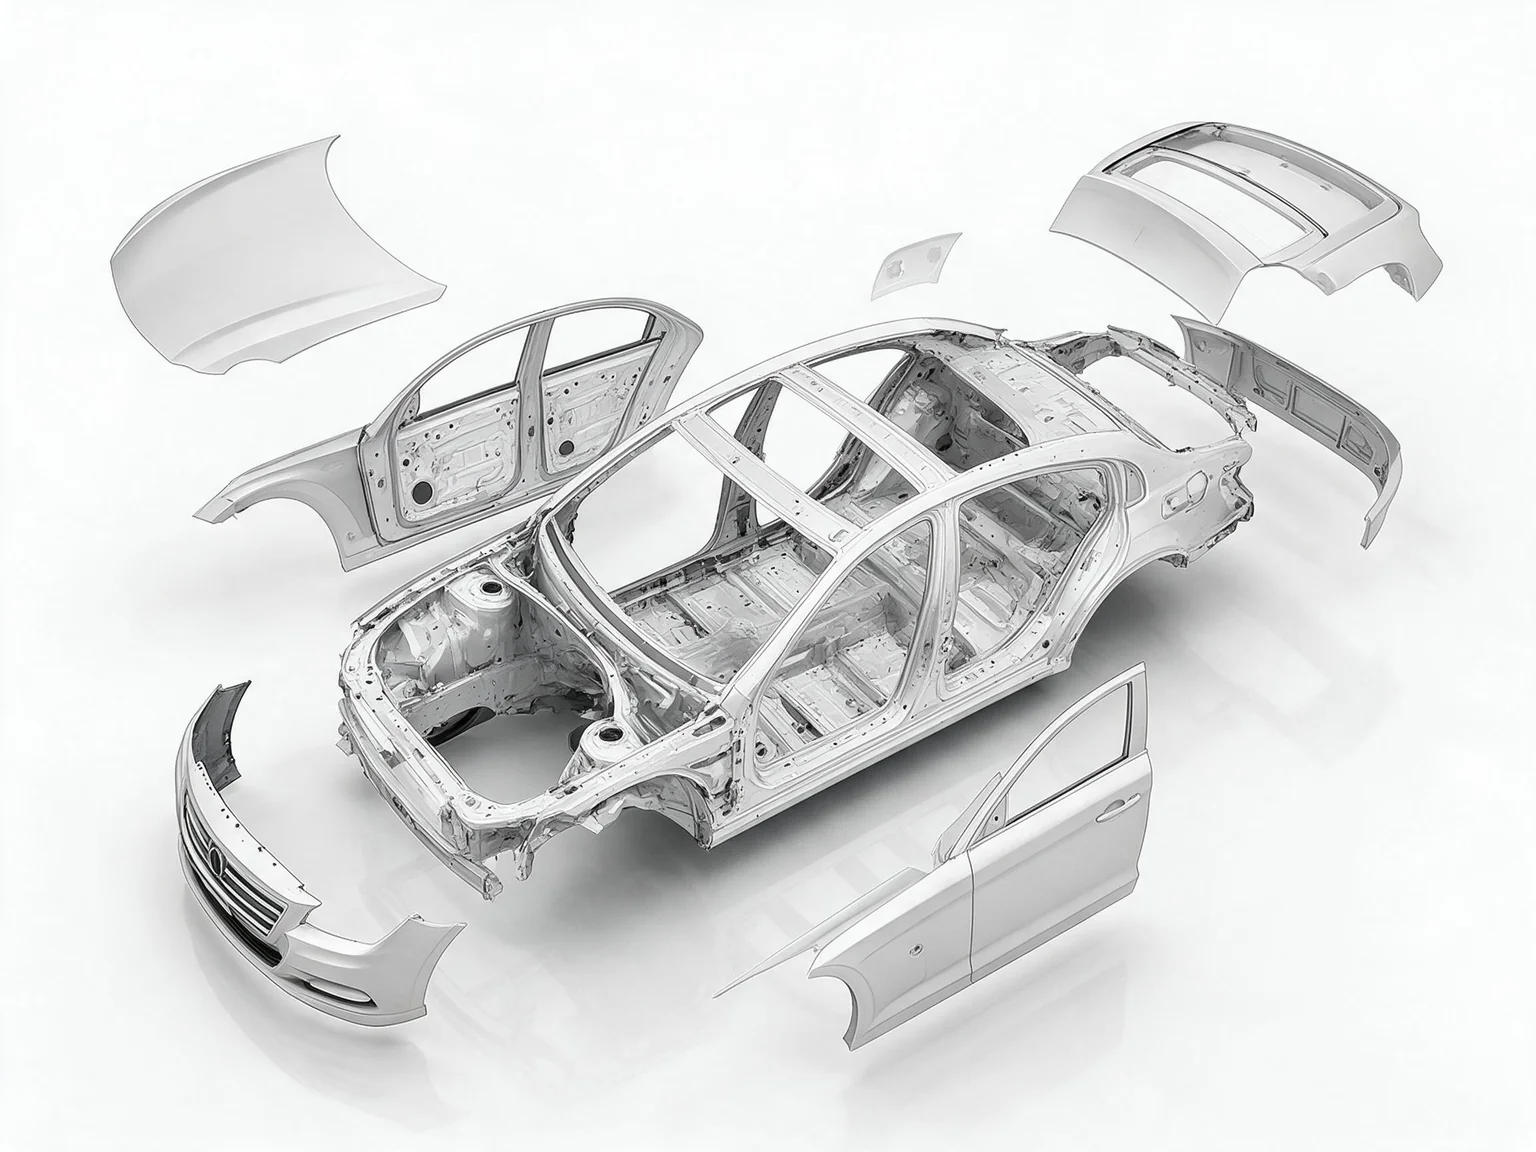
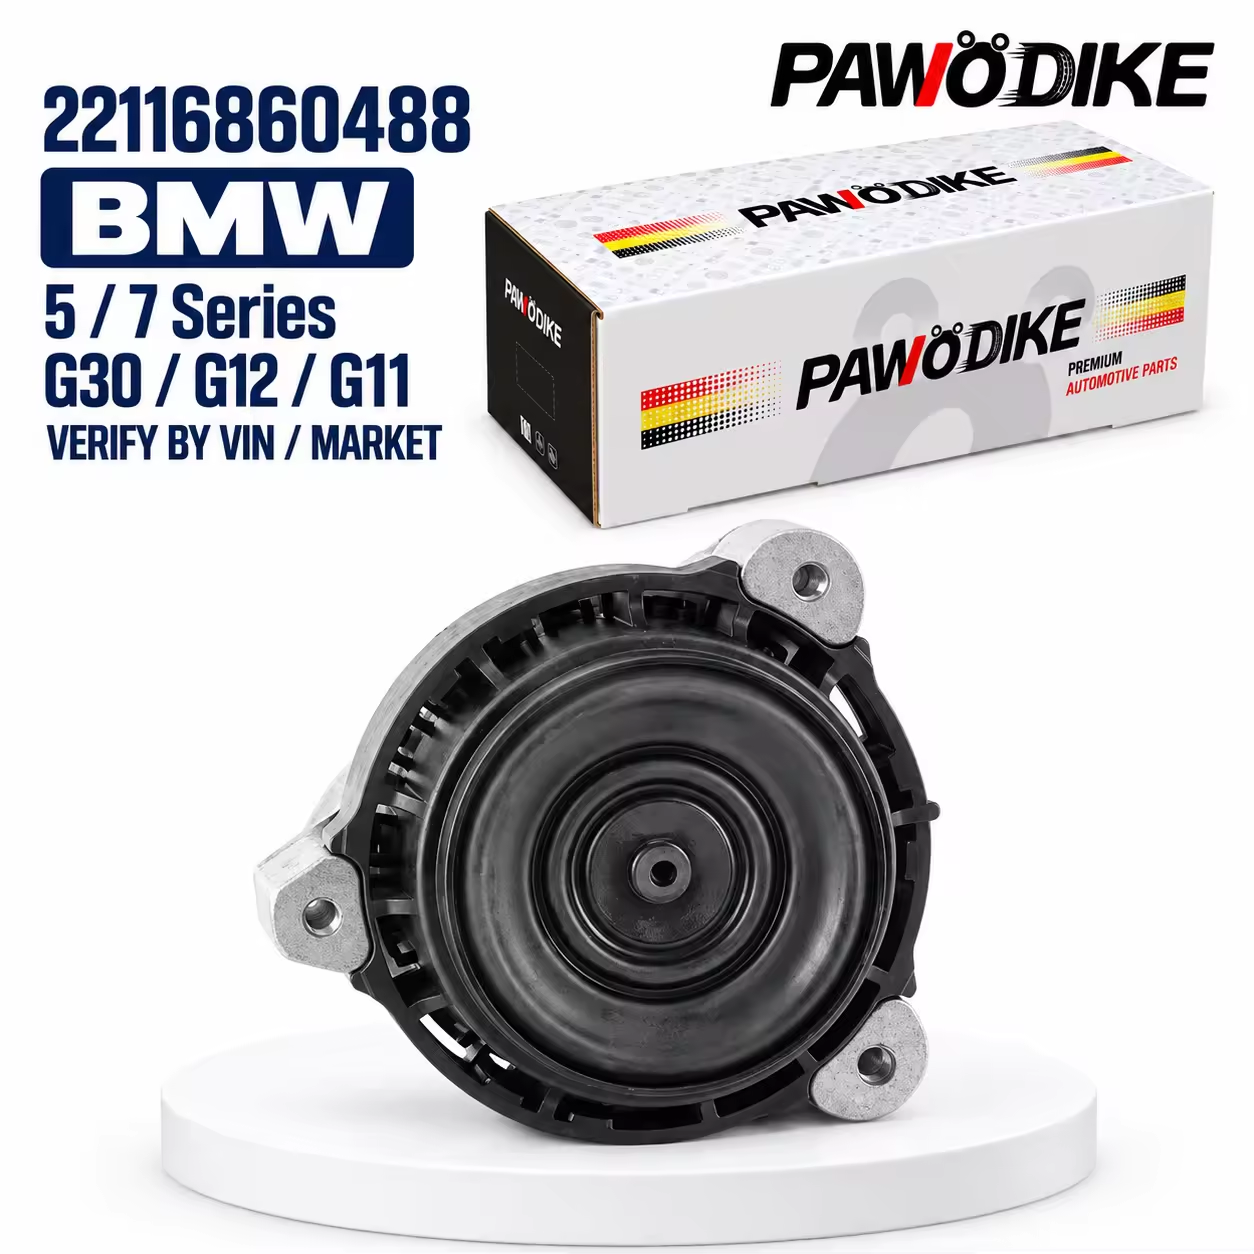
The answer is that a failed mount seldom leaves a single isolated noise behind; it is the group of symptoms arriving together—vibration at idle, a jolt as a gear engages, a knock over a bump and an engine sitting visibly low—that points at a mount, while the conditions under which engine mount symptoms appear decide which unit has to be checked. What follows moves from recognizing the symptoms, through ruling out look-alike faults, distinguishing the designs, settling how many to replace and narrowing the field by chassis code, to completing the order information, and states at each step what to look at and what to ask the workshop for.
The components are worth describing first: an engine mount, also called a motor mount, is a rubber-and-metal assembly that holds the engine to the body while isolating vibration, with the rubber block bonded to a metal bracket; a hydraulic mount seals fluid inside the rubber chamber to damp the fine vibration at idle. A chassis code is the platform designation for a model series—written, for example, as W203 or G30—and serves to narrow the field to one vehicle family; a part number identifies the component itself and fixes which single unit is meant; the VIN is the vehicle identification number, the identity of one particular car. An order here means the parts list a buyer sends to a supplier, not a repair estimate.
Symptoms that genuinely point at a mount
Why idle vibration, a clunk in gear and a knock over bumps point at one part
These observations seem unrelated, yet they are the same unwanted travel showing itself under different triggers: the mount carries the engine on the body and the rubber layer absorbs the engine's own vibration, so once the rubber softens, cracks or separates from the metal, the engine gains room to move under load that it did not have before.
At idle the engine turns slowly and its vibration is coarsest, so the shaking reaches the steering wheel and the seat; at the moment a gear engages, the transmission applies a reaction torque and the engine reaches the end of its travel with a knock; over a bump the road lifts the body and the engine completes the same movement relative to it. What a parts buyer has to ask the workshop for is the conditions in which the symptom appears, how long it lasts and which side is worse—not a bare report of an unusual noise.
How a collapsed mount changes the visible position of the engine
A change in position is the evidence that is easiest to recheck: once a collapsed engine mount settles under load, the engine sits lower than before, the height on the two sides may no longer match, and a gap can open between the rubber and the metal.
With the hood open, the lift and sway of the engine can be watched while a gear is engaged and a brief load applied, and a pronounced movement shows that the mount is no longer holding the engine in place; the observation needs a second person and a properly secured vehicle, and what the parts buyer wants from it is a record or a photograph that can be checked again, not a repair verdict issued on the workshop's behalf.
Why an oil-soaked mount cannot be judged by the rubber surface
Oil softens rubber, so an intact surface does not mean the part can still carry its load: engine oil, power-steering fluid and coolant reaching the rubber all soften the material over time, and a mount without a single crack may already have lost its supporting strength.
The first step in judging the part is to find the source of the leak, since sealing surfaces commonly sit above the mount and oil runs down to collect on it; replacing the mount while the leak remains sends the new part down the same path, so the workshop should be asked where the seepage comes from and whether it has been dealt with, and the direction of the oil trace belongs in the disassembly record.
Table 1. Symptom triage table. These six observations commonly appear together, and no single one of them is enough to fix a part; the right-hand column lists what a parts buyer has to ask the workshop for, since the answers come closer to an order basis than a one-line fault description.
| What the workshop observes | Under which conditions | What it points to | What to ask the workshop before ordering |
|---|---|---|---|
| Continuous vibration through the steering wheel or the seat | Most pronounced at idle, in gear with the brake held; eases as engine speed rises | Reduced isolation on the load-bearing side | In which state the vibration eases, and whether it is present in neutral as well |
| A single thud as drive or reverse engages | Only once, at the moment the gear takes up | The engine reaches the end of its travel and strikes the stop | Whether the sound is single or repeated, and whether it returns when shifting between neutral and reverse |
| A knock over a speed bump or at full steering lock | Appears over uneven road surfaces or at the steering limit | Increased clearance in the mount; the road has triggered the same travel that a gear change would | Whether the sound follows the road or the gear shift, and whether there is fresh oil around the mount |
| The engine visibly lifts or sways with the hood open | Observed in gear under a brief load | The mount is no longer holding the engine in its original position | A record or photograph that can be rechecked, with the side identified |
| Cracked rubber, separation from the metal, or one side sitting visibly lower | Seen by eye with the vehicle raised | The mount has collapsed or sagged | Photographs of the old unit and a height comparison of the two sides |
| The mount has been soaked in oil yet still looks intact | Seepage found above it during disassembly | Oil-softened rubber; appearance no longer describes its condition | Where the seepage comes from, whether it has been dealt with, and the direction of the oil trace |
The conditions are more stable evidence than a description of the sound; triage belongs after the answers are complete, and only then does the order have a basis for naming one particular unit.
Symptoms that are usually something else
Why vibration that follows road speed points at wheels and drive shafts first
When the vibration follows road speed, the wheels, tires and drive shafts come first, because a rotating component produces a shaking that grows with vehicle speed and bears no relation to how fast the engine is turning at that moment.
The way to separate them is to hold the two variables apart: raise road speed in one gear and the vibration grows; hold road speed, change engine speed, and it stays the same—which sends the investigation toward the wheels. Wheel balance, a deformed rim and the condition of the drive shafts can all produce the same feel, and ordering a mount at that point solves nothing; what the parts buyer should request is the observation under each of the two conditions.
Why vibration only under acceleration points at the inner drive shaft joints
Vibration that appears only under acceleration points first at the inner drive shaft joint, the constant-velocity joint on the gearbox side of the shaft; once worn, it carries vibration into the body as delivered torque rises, and eases as soon as the throttle is released.
A failed mount shows itself at idle and does not wait for acceleration, so recording when the vehicle shakes and when it does not serves the triage better than recording how strong the shaking is; the workshop should also be asked whether it changes with the gear selected and whether it disappears at a steady speed.
Why an idle misfire feels like a failed mount
An idle misfire feels much like a failed mount: a cylinder is not firing and producing power as it should, the engine runs unevenly, and the body rocks in time with it—at a glance, exactly what failed isolation looks like.
The difference lies in the rhythm, since a misfire tends to bring fluctuating engine speed and an uneven exhaust note while a mount problem follows the direction in which the engine is loaded; the vehicle's fault records should be read first to see whether the cylinders are running smoothly before any decision to order a mount. This step only decides who continues the investigation; it does not prescribe a test method to the workshop.
Table 2. Look-alike fault comparison table. The columns say which line of inquiry comes first, not where the blame lies; symptoms of bad engine mounts overlap with those of rotating parts, and only what still leads back to a mount after the four are separated forms the basis of an order.
| Similar presentation | The more likely source | What to check first | When to return to the mount |
|---|---|---|---|
| Vibration grows with road speed and stays unchanged when engine speed changes | Wheels, tires and drive shafts | Record the change in vibration separately under each of the two conditions | Only where vibration still appears at idle after the two are separated |
| Vibration only under acceleration as delivered torque rises, easing off the throttle | Inner drive shaft joints and other driveline parts | Observe steady speed and throttle release; inspect the shaft connections | Only where vibration or a jolt is also present at idle in gear |
| A rhythmic rocking at idle with fluctuating engine speed and an uneven exhaust note | Ignition and cylinder combustion | Read the fault records and see whether the cylinders run smoothly | Only where the body still shakes with the cylinders running smoothly |
| A regular oscillation of the steering wheel within one speed range | Wheel balance and the rims | Inspect tires and rims and recheck wheel balance | Only where idle vibration remains after rotating parts are excluded |
| One sound at the moment of a gear change, absent while driving | Gearbox and driveline backlash | Establish which gear produces it and how many times it occurs | Only where the sound also returns over bumps and at idle |
The order of elimination is not a repair standard; it separates the categories most often confused with one another before anything else.
Rubber versus hydraulic mounts: what changes when you order
Where the two designs differ in construction
The construction differs in whether fluid is sealed inside the rubber chamber: a rubber mount bonds a single block of rubber to a metal bracket and absorbs vibration through the deformation of the rubber itself, whereas a hydraulic mount leaves a closed fluid chamber within a comparable housing and lets the liquid move between cavities to suppress the fine vibration at idle.
A similar outline does not make them interchangeable, since the mounting feet and the outer shape can be almost identical while the isolation method inside is not; fitting a plain rubber part where the car originally carried a hydraulic one changes the vibration at idle, and so does the reverse. What the workshop has to confirm is which design the old unit belongs to, not which one is better.
How collapse, fluid loss and rubber-to-metal separation differ
Different designs leave different evidence at disassembly: a rubber mount commonly shows cracked rubber, separation from the metal bracket or a general sag, while a hydraulic mount may also leave traces of fluid at the housing seam, or collapse like an ordinary rubber part once the fluid is gone.
Those traces decide what has to be asked before ordering: cracks or separation call for the side of the old unit and the shape of its bracket, while fluid traces call for confirmation that the vehicle originally carried a liquid-filled design. Photographs of the old part have to show the housing, the seam and the mounting feet; a single frontal view is not enough.
What to verify before fitting a different design on the same chassis
Both designs may exist under one chassis code, so the original fitment has to be checked before the design is changed; the engine variant, the side and the design itself can each send the same vehicle family to a different part number, and the design is only one of those fields.
The route is to read the old-unit nameplate and the disassembly photographs first, then return to the catalog with the part number rather than guessing from a model name; the terms used for these parts are explained separately, and this section deals only with the relationship between design and part number, since even the most accurate name cannot replace the evidence on the old unit.
Table 3. Design selection table. Neither design is better as a general rule; establish first which one the vehicle carried. The table records only visible evidence—an engine mount leaking fluid, a separation gap or a difference in height—and no material formulation or performance figures.
| Difference in construction | Common failure signs | Fields to verify before ordering | Visible evidence on the old unit |
|---|---|---|---|
| Rubber mount: a rubber block bonded to a metal bracket, isolating vibration through its own deformation | Cracked rubber, separation from the metal, a general sag | Side, bracket shape, mounting hole positions | Cracks, a separation gap, a height difference from the other side |
| Hydraulic mount: a sealed fluid chamber inside the rubber housing, damping idle vibration through fluid movement | Fluid seepage, collapse after fluid loss, marks at the housing seam | Whether it is liquid-filled, side, engine variant | Oil traces on the housing, seam impressions, the shape of the mounting feet |
The usual question is which design is better; the parts list, however, has to answer which design the vehicle originally carried.
Which mount, and how many
What the left and right mounts and the transmission mount each carry
The three supports do different jobs: the two engine mounts hold the engine's weight under continuous load and wear fastest, while the transmission mount, located on the gearbox side, mainly absorbs the reaction torque of gear changes and acceleration.
That division sets the order of inspection, with the two sides examined first and the transmission mount checked at the same time while the vehicle is raised, since the load a failed engine mount no longer carries is transferred there; what the parts buyer should request is a condition record for all three, not a report on the one that failed.
Why replacing one side leaves the engine sitting off-axis
Replacing one side leaves the two heights unequal; because the new rubber is taller and firmer than the old part, the engine settles tilted toward the old side, the new unit takes most of the load on its own, and its wear accelerates.
This is a mechanical consequence rather than a reason to add a line to the order, and replacing both sides also lets the preparation and the refitting be done in one operation; what has to be confirmed with the workshop is the actual condition of the other side and whether one side has been replaced before.
Why a sagging mount puts the exhaust and intake ducting under tension
As soon as the engine sits lower, the pipework attached to it is pulled taut: the front exhaust section and the intake ducting are both routed for the engine's original position, so once a mount sags, the joints, hangers and flexible sections work at angles they were not designed for and may loosen or crack under sustained load.
Such secondary damage is often reported as a separate fault; where an exhaust joint or an intake hose keeps giving trouble, the mount height should be checked first, and, conversely, an engine mount replacement order should also ask whether the exhaust and intake pipework show signs of being pulled.
The mounts, the exhaust and the intake ducting belong to one set of positions, so an order naming only a mount still has to reckon with what else was pulled out of place when it sagged.
Why a chassis code narrows the search but does not decide the order
Why the catalog lists mounts under chassis codes
The mount product entries currently listed here mostly carry a chassis code directly in their name, and a chassis code—the platform designation of a model—holds the search to one vehicle family more reliably than a colloquial model name, which is the purpose set out in the chassis code guide.
Naming an entry by chassis is not the same as fixing a part by chassis: the mount category archive shows how the whole family is organized, while individual entries appear under codes such as G30, W166, W203 and W247; those names are search clues, not part numbers.
Why one chassis code can still have more than one mount
One chassis code can cover more than one mount because of the side, the engine variant and the design; the catalog itself contains a second mount entry under the same code, and two entries side by side do not mean that one of them is wrong, only that another configuration exists within the same vehicle family.
The fitment pages work the same way: pages such as W205, W203 and W247 bring together the parts that can be looked up for a vehicle family so the field can be narrowed first, while moving from a code to one particular unit still depends on reading part numbers off the old component before returning to the catalog.
What still stands between a chassis code and a completed order
A code completes only the first step; the old-unit nameplate, the vehicle identification and the disassembly photographs then have to be matched field by field—side, engine variant and design—before the part number is reached.
Where any one of them is missing, the order waits until it is supplied, since writing a code into an order as though it were a part number turns a range into a conclusion; the entry counts describe how the catalog is organized, not availability, and they are no fitment promise.
Table 4. Mount entry composition on this site. Counts measured against the online catalog on 2026-11-10; they describe only how entries are organized, and are neither availability figures, stock status nor a fitment promise, and no brand is inferred from a numbering prefix.
| Composition | Entries | What it means for the order |
|---|---|---|
| Mount-related entries on the English site | 7 | The catalog is organized around this part family; entry counts are not availability figures |
| Product pages among them named by chassis code | 5 | A code narrows the field to one vehicle family, not to one part |
| Category archive page | 1 | For browsing the whole category, not for fixing one part |
| Diagnostic guide | 1 | Explains symptoms and the selection path; it is not a product entry |
| Across five languages | 35 | Each language carries the same number of entries, listed separately by language |
| Fitment pages on the English site | 132 | An entry point for browsing by vehicle family; the part number still has to be checked |
Finding parts by chassis is how the catalog entries are arranged; which fields this vehicle needs checked is still decided by the old unit and the vehicle records.
What the order still needs after the chassis lookup
What the old-unit nameplate and the vehicle identity each resolve
The two kinds of information resolve two different things: the nameplate on the old unit carries that component's own number and design details and decides which part appears on the order, while the VIN is the identity of the vehicle and serves to check its configuration—it cannot be used as a part number.
Nameplates are often hidden by oil or worn away, so an unclear photograph calls for another rather than a guess from the vehicle family or the outline; where the numbering format is uncertain, reading part numbers explains how it is written, and the terms used for these parts settles the naming, neither of which replaces evidence from the part itself.
Who confirms the side, the engine variant and the design difference
Those three fields are confirmed with the workshop and the vehicle records, not inferred from a catalog page: the side comes from where the old unit was removed, the engine variant from the vehicle records, and the design difference from the old housing and the disassembly photographs.
Once they are confirmed, search by part number and cross-references provide a second check that narrows the candidates to the entry matching the old unit; the mount category archive is for browsing the category, not for fixing one part.
Why missing information means asking before ordering
Where one field is missing, it is requested rather than ordered against and hoped for, since a wrong part on the order costs more in returns and refitting than one further question, and what the question usually produces is a single photograph or one line from the records.
The request has to be specific: ask the workshop for a complete photograph of the old nameplate, the mounting feet and the housing seam, together with the side and the engine variant, and ask the vehicle records for the configuration tied to the VIN; only when those are assembled can the number be written onto the order.
- 01Take the number from the old unit: photograph the full nameplate, take another shot where it cannot be read, and do not infer it from a model name.
- 02Take the configuration from the vehicle: check the engine variant against the VIN and the vehicle records, with the code serving as a cross-check only.
- 03Take the differences from disassembly: confirm the side, the bracket shape and whether the unit is liquid-filled.
- 04Take the entry from the catalog: verify candidates with search by part number and cross-references, then return to the mount category archive for related entries in the same family.
- 05Where any field is missing, request it rather than filling the gap with a model name.
Only after those steps does the order carry a part number that can be checked; the earlier judgements about symptoms and design all rest on the evidence gathered here.
The step people skip
Why rubber bushes are tightened at ride height
Rubber bushes are tightened with the vehicle at normal ride height and the engine supported, ride height being the body position with all four wheels on the ground and the suspension carrying its normal load; the bush is the rubber portion of the mount that allows a small amount of twist, and if it is already twisted in one direction at fitting, it carries that preload from then on.
Preload means the rubber is already stretched before it begins to work, so the newly fitted part passes vibration straight into the body and fails earlier than it otherwise would; vibration that remains at idle is often not a defective part but a body position that was wrong at the time of fitting.
What tightening at full droop leaves behind
Tightening at full droop preloads the bush in one direction: with the vehicle on a two-post lift and the wheels hanging, the suspension and the engine sit in a different relationship from the one they have on the ground, and tightening the bolts then fixes the rubber at a position that does not belong to normal driving.
The consequence is already in place the moment the job is finished, since the rubber has to absorb an extra twist once the engine returns to its normal height, idle vibration reaches the cabin and the bush fatigues early; what has to be confirmed with the workshop is the body position at tightening, not the source of the vibration after the part has been changed.
Which two clearances to re-check before closing the job
Before the job is closed, the exhaust alignment and the clearance around the intake ducting should be rechecked, since these are the two places most likely to be left at an unsuitable angle once the engine position has changed; a glance at refitting saves a later search for the cause.
This check states what to look at, not a torque figure or a bolt specification, because the instructions differ between models and the workshop manual describes the procedure for the vehicle in question; figures carried over from another engine do not apply.
- 01Support the engine from below with a jack and a block; supporting it on a jack alone is not a basis for working underneath the vehicle.
- 02Bring the suspension to ride height, either with a second jack under the wheel hub or with ramps.
- 03Start the mount bolts by hand and let the engine settle, then tighten them as specified in the workshop manual for that model.
- 04Before closing the job, recheck the exhaust alignment and the clearance around the intake ducting.
Torque figures and bolt procedures vary by model, and the workshop manual for some models also gives separate instructions for the bracket bolts; follow the manual for this vehicle, since figures carried over from another engine do not apply.
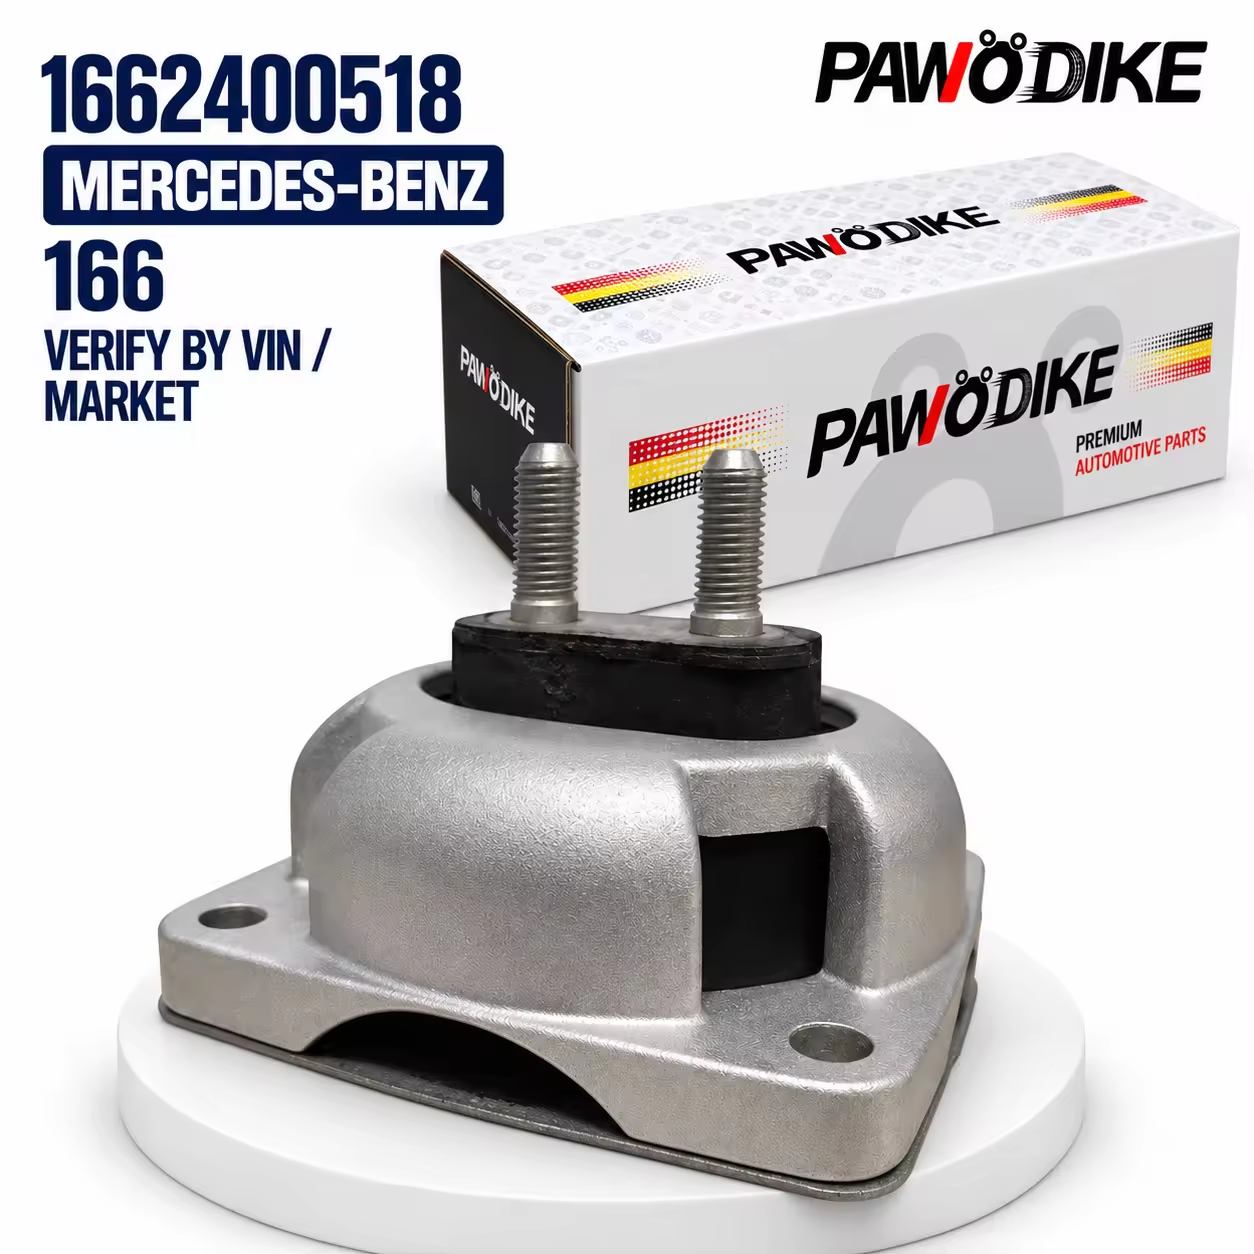

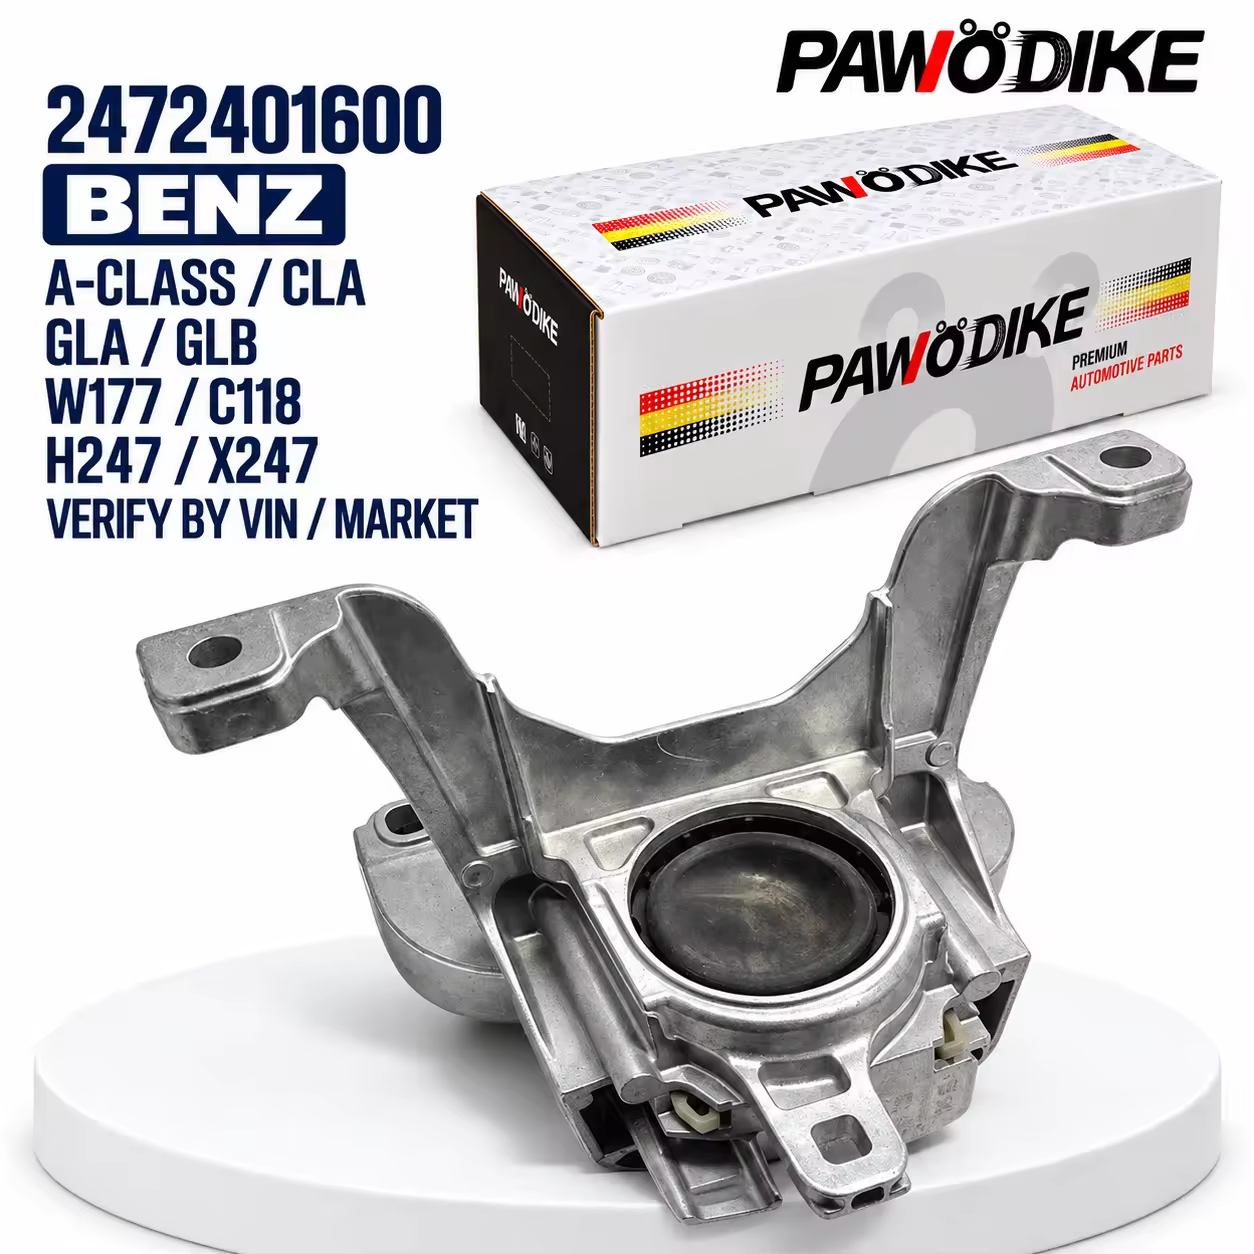
Common questions
- Should I replace both engine mounts or just the failed one?
- Replace both. New rubber sits higher and is firmer than the old unit on the other side, so changing one alone leaves the engine off-axis, puts most of the load on the new part, pulls at the exhaust as well and lets the vibration return; replacing both sides also allows the preparation and the refitting to be done in one operation.
- Can I drive with a broken engine mount?
- Driving on for long is not advisable. Once a mount has collapsed, the engine moves under load and the exhaust pipe, drive shafts and coolant hoses all take a pull they were not designed for, so what began with one mount can come to involve several areas.
- Why is my new mount still transmitting vibration at idle?
- In most cases the body was in the wrong position when the bolts were tightened. Rubber bushes have to be tightened at ride height with the engine supported; tightening them with the engine hanging or the vehicle in the air preloads the bush in one direction, and the fitted part then carries vibration into the cabin. Support the engine, bring the suspension back to ride height, and tighten as the workshop manual specifies.
- How do engine mounts affect premature exhaust failure?
- As the engine sits lower, the front exhaust section is pulled taut. The exhaust and intake pipework are routed for the engine's original position, so after a mount sags the joints and hangers work at angles they were not designed for and may loosen or crack under sustained load; where an exhaust joint keeps giving trouble, check the mount height first.
- What is the difference between rubber and hydraulic engine mounts?
- The difference is whether fluid is sealed inside the rubber chamber. A rubber mount isolates vibration through the deformation of the rubber block itself, while a hydraulic mount seals fluid in the rubber chamber to damp idle vibration; the two can look closely alike, so the fields to verify before ordering are whether it is liquid-filled, the side and the engine variant, and the first thing to establish is which design the vehicle carried rather than which one is better.
- How many engine mounts does a car have?
- Commonly two engine mounts, left and right, plus one transmission mount. The two sides carry the engine's weight and wear fastest, while the transmission mount takes the reaction torque; the actual count varies with the model and engine variant, so the old unit and the vehicle records decide it rather than a guess from the family name.
- How do I find the right engine mount for my chassis code?
- A chassis code narrows the field to one vehicle family; it does not fix one particular part. Use the code to find candidates among the entries named by chassis and the fitment pages, then check the old-unit nameplate, the configuration tied to the VIN, the side, the engine variant and the design difference field by field before arriving at the part number; where any one is missing, request it before placing the order.
Got a part number or a VIN? Get availability and price — we reply within four business hours with price and lead time attached.